How to Clean Up FDM 3D Prints: A Step-by-Step Guide
How to Clean Up FDM 3D Prints: A Step-by-Step Guide to
Support Removal, Deburring, and Wire-Trim Finishing
Good prints
look great straight off the bed - until you flip them over and see the
supports. Post-processing is the gap between "it printed" and
"it's done", and for most hobby FDM owners, the difference comes down
to three things: how cleanly you cut supports, how well you smooth the
touchpoints, and (for mixed-media builds) how cleanly you trim the wire or
metal inserts that mate with the printed part.
The right tools
make all three faster, and the wrong tools leave you sanding for an hour to fix
a one-second cut.
Let's get you
up to speed on the workflow.
Step 1 - Bulk Support Removal
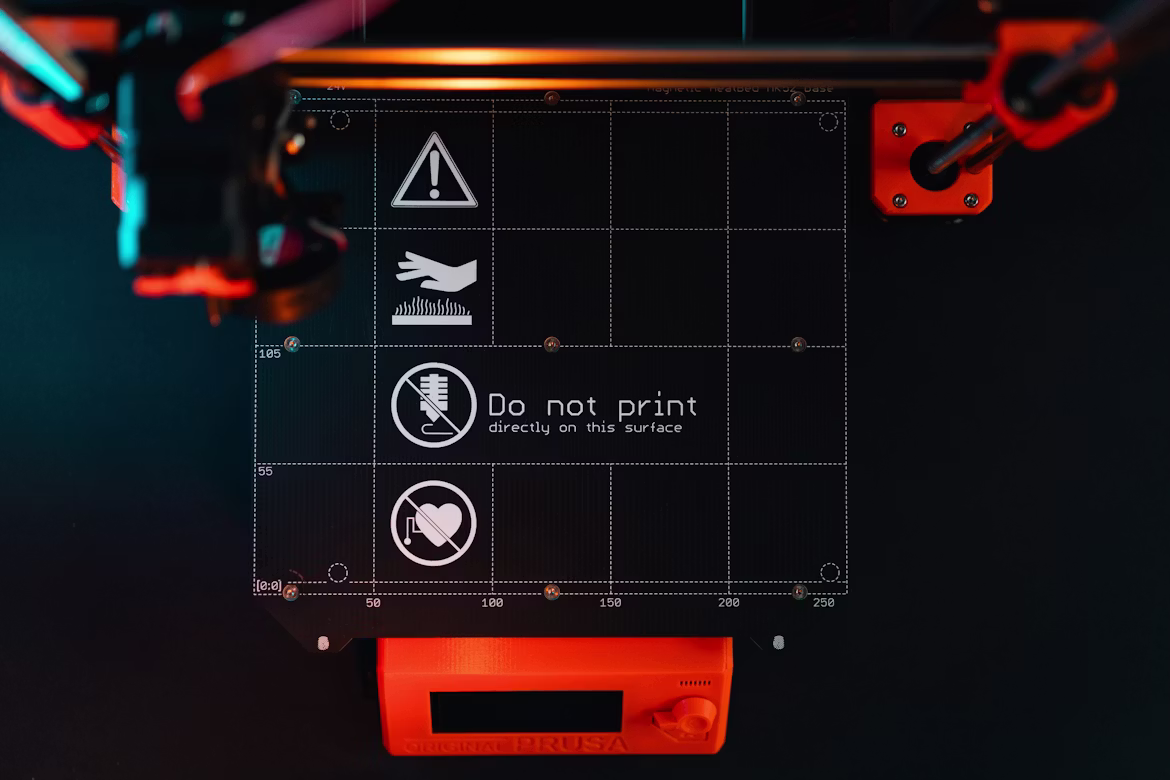
source -
https://unsplash.com/photos/3d-printer-build-plate-with-warning-symbols-B_GzQH3xA3I
Most hobby
printers use tree supports or grid supports under overhangs. Both produce a
network of thin connector legs that snap or cut away from the print surface.
The standard cutting approach uses one of two tool types:
1. Tip-flush
cutters - the cutting edge sits at the very end of the jaw. Best for
getting the last 1-2 mm flush against the print surface.
2. Side-cut
parallel pliers - the cutting edge runs along the side of the jaw. Best for
bulk removal where you approach the support from a perpendicular angle,
especially on tree-support legs and infill columns.
For the bulk of
support removal, you need strong cutting pliers that don’t leave sharp edges. Maun's Mini Side-Cutter Plier works well here – it uses parallel-action jaws for
gripping (rather than the scissor-action found on cheaper general-purpose
pliers) so you don’t end u crushing components, and the cutting edge uses a
compound-lever action that snips through hard PLA supports without crushing the
surrounding print. The 125 mm size sits in the same precision class as a
watchmaker's plier - small enough for fine work in tight enclosures, with
case-hardened HRC 57 jaws that hold up to stiff PLA and PETG supports over
hundreds of prints.
A small return
spring opens the jaws between cuts. Over a print with 40+ support cuts, that
detail saves real hand fatigue.
Step 2 - Deburring and Edge Cleanup
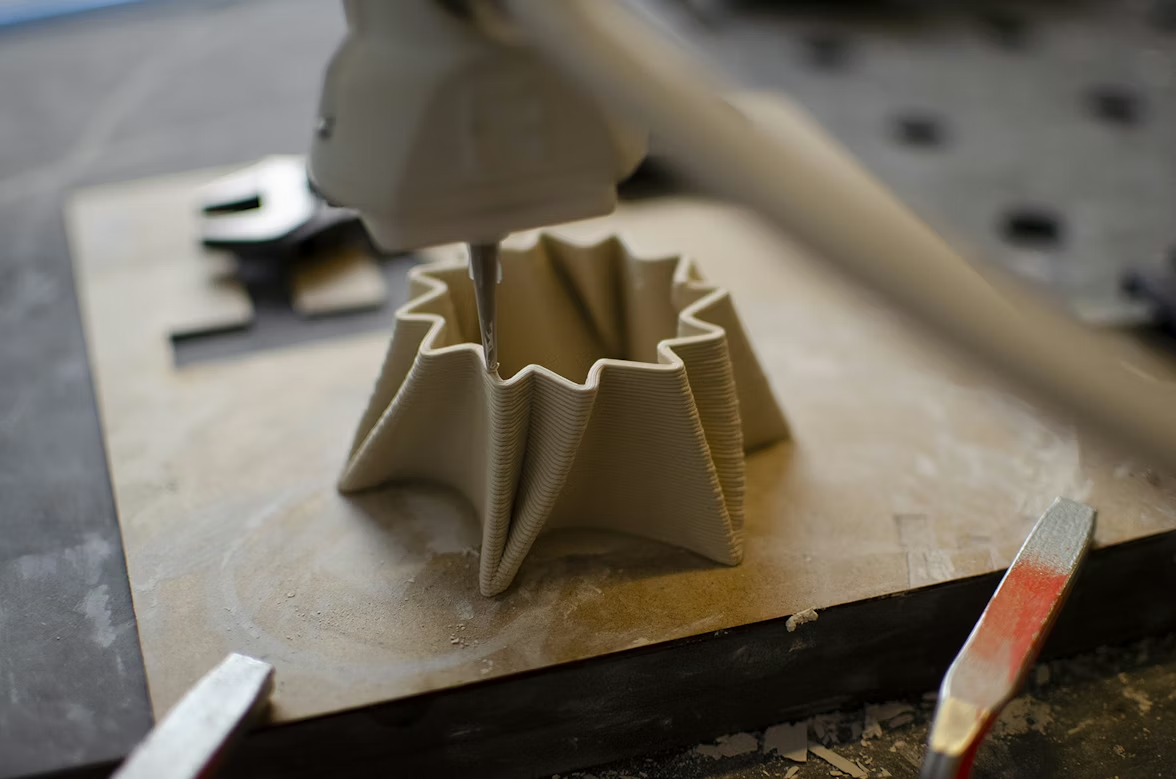
source -
https://unsplash.com/photos/a-close-up-of-a-sculpture-on-a-table-O3eYy_iHXNo
After bulk
removal, you are left with stubs and burrs where each support meets the print
surface. Two approaches handle these:
•
Flush-trim with tip-flush
cutters to cut the stub down to the print surface.
•
Sand or scrape with a
deburring tool to smooth the touchpoint.
Tool quality
matters more here than in the bulk-removal step. The cheap flush cutters that
ship with many printer kits are usually too thick and leave marks, while
sharper-edged variants from precision-tool makers give a cleaner cut closer to
the surface (source).
For visual prints, plan to sand the touchpoint anyway. Start at 200-400 grit
and progress to 800-1000 grit for a polished finish, depending on the filament
type and the print's intended use (source).
PLA is easier
to deburr than PETG; ABS sands well but melts under heat from aggressive rotary
tools.
Step 3 - Wire-Trim Finishing for Mixed-Media Builds
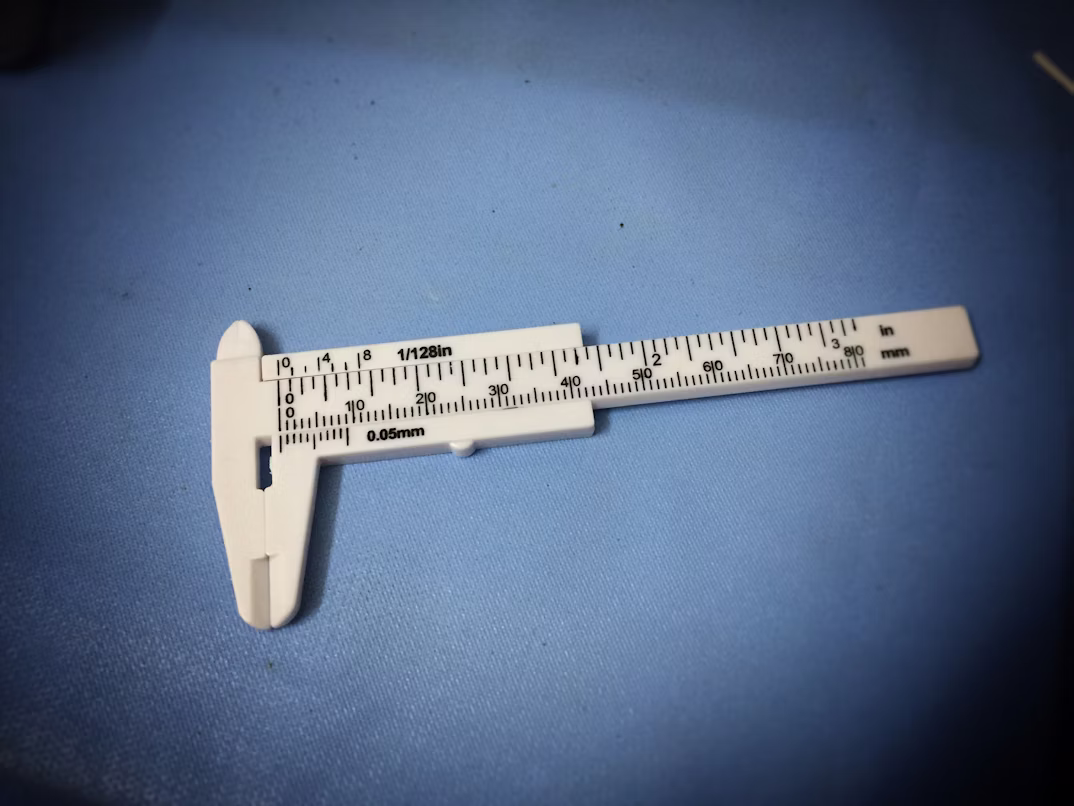
source -
https://unsplash.com/photos/white-caliper-Te2zcvp3X1g
A growing share
of FDM work mixes printed parts with metal inserts: heat-set threaded inserts,
wire armatures for posable models, decorative metal accents, hinge pins. Each
of these needs trim-to-length wire cuts at some point in assembly.
The same
side-cut parallel pliers that handled support removal also handle wire trim,
with one caveat: pick the variant matched to the wire type. Soft brass wire
needs a semi-flush variant for a clean square cut. Hard steel wire (for
armatures or springs) needs the hard-wire variant with a more aggressive edge
geometry. Maun publishes per-model wire capacity by type (piano wire, hard
wire, soft wire) so you can match the tool to the build.
Tool Quality Matters

source -
https://unsplash.com/photos/mechanic-working-on-a-metal-part-with-tools-bn8zJC2HsVg
Better tools
come from brands that specialize rather than general-purpose toolmakers. Maun
has been engineering pliers in Nottinghamshire since 1944 - a long enough run
to have produced industry-standard tools for engineering, model-making, and
watch repair - and publishes hardness ratings (HRC 57 for standard jaws, HRC
62-65 for premium cutting edges) rather than relying on vague claims like
"hardened steel" (source).
The decision
between a $50 specialist plier and a $10 kit cutter is the difference between a
tool that lasts the printer's lifetime and one that wears out after fifty cuts.
For anyone printing more than the occasional vase, the investment pays back
across years (source).
Common Mistakes
•
Cutting at an angle into the
print. Drives the cutter into the wall and leaves a
divot. Approach perpendicular to the support, away from the print surface.
•
Using one plier for
everything. Hard wire eats the edges on a soft-wire
cutter within ten cuts.
•
Skipping sanding. Even the cleanest cut leaves a microscopic ridge that catches under
finger pressure.
•
Forcing a stiff cut. If the cutter is binding, the support is too thick or the cutter
too small. Switch tools, do not lever.
Wrap-Up
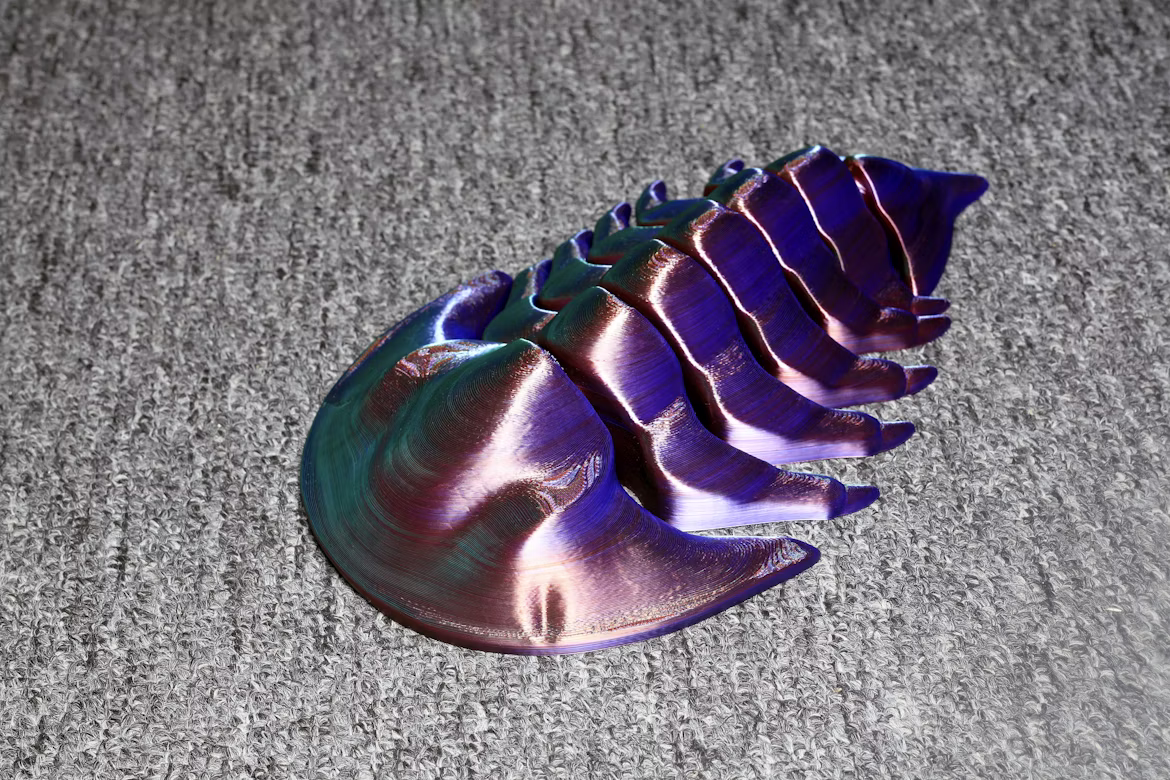
source -
https://unsplash.com/photos/a-purple-object-sitting-on-top-of-a-carpet-868KKZnp4g4
Post-processing
turns "it printed" into "it's done". A good side-cutter
parallel plier handles bulk support removal cleanly, a sharp tip-flush cutter
takes the stubs to flush, and a quick pass with progressive grits finishes the
surface. With the right kit, the workflow is ten minutes per print rather than
an hour - and the prints look like you meant to make them, not like they fell
out of the slicer.